Hi All,
today I’m going to explain about Selenium which is a open source automation tool and how to utilize it with C#. As you know automation tools save our time in terms of testing a software product. If we are doing some regression testings automation tools doing a great job in terms of saving the time.
today I’m going to explain about Selenium which is a open source automation tool and how to utilize it with C#. As you know automation tools save our time in terms of testing a software product. If we are doing some regression testings automation tools doing a great job in terms of saving the time.
So I’m going to explain a very simple example for using Selenium from C#.
We can divide selenium as two entities. One is Selenium IDE as a web browser extension. And the other one is Selenium Web Driver. So I’m going to talk about the selenium web driver which is using for web based testings from C# code. Basically Selenium Web driver will open the browser and doing the actions as we instructing in the C#code.
Firstly you need to install visual studio. For my case I have installed visual studio community version which is a free version of Microsoft.
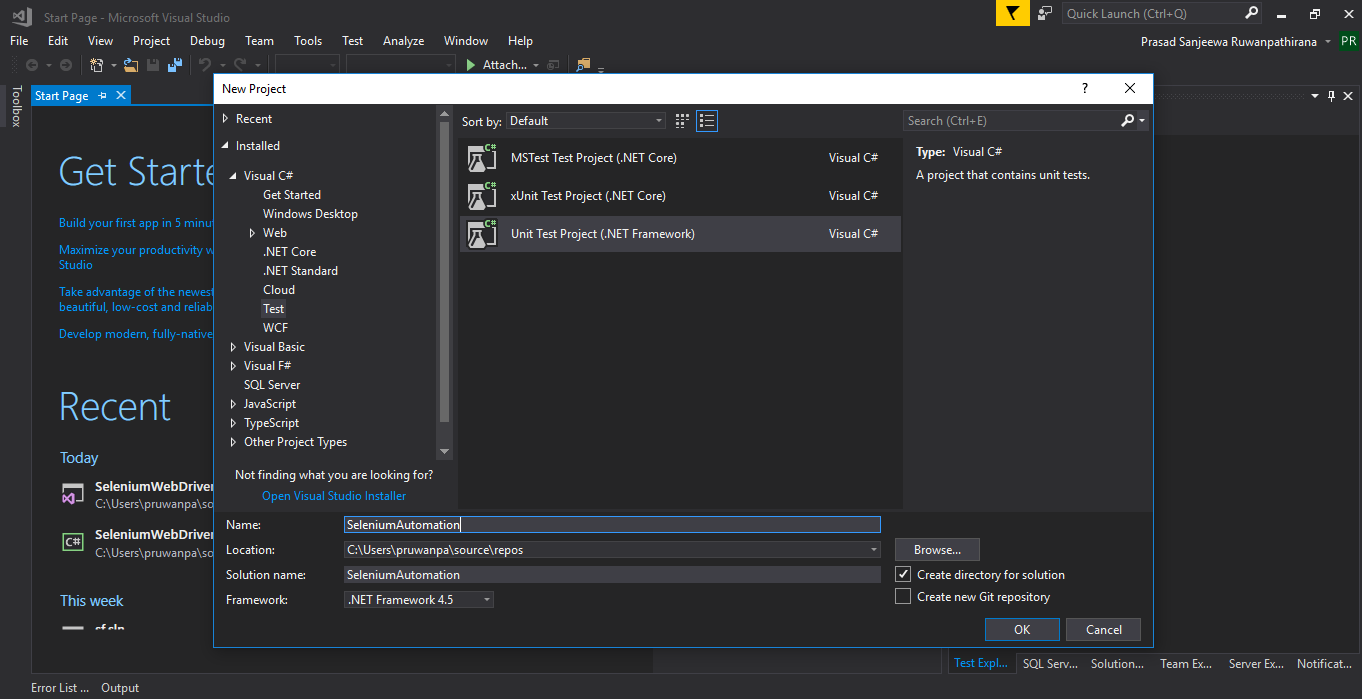
Then you need to create a project by navigating to File -> New -> Project. And give a name for the project and click ok.
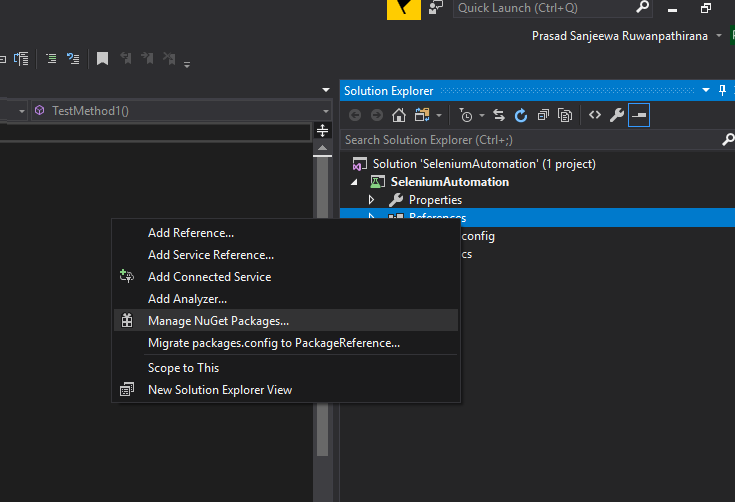
Now go to the Solution Explorer and right click on References and click on “Manage Nuget Packages…” as below.
Next step will be adding Selenium references in to the project. So what you need to do is search “Selenium” in the Browse tab as below.
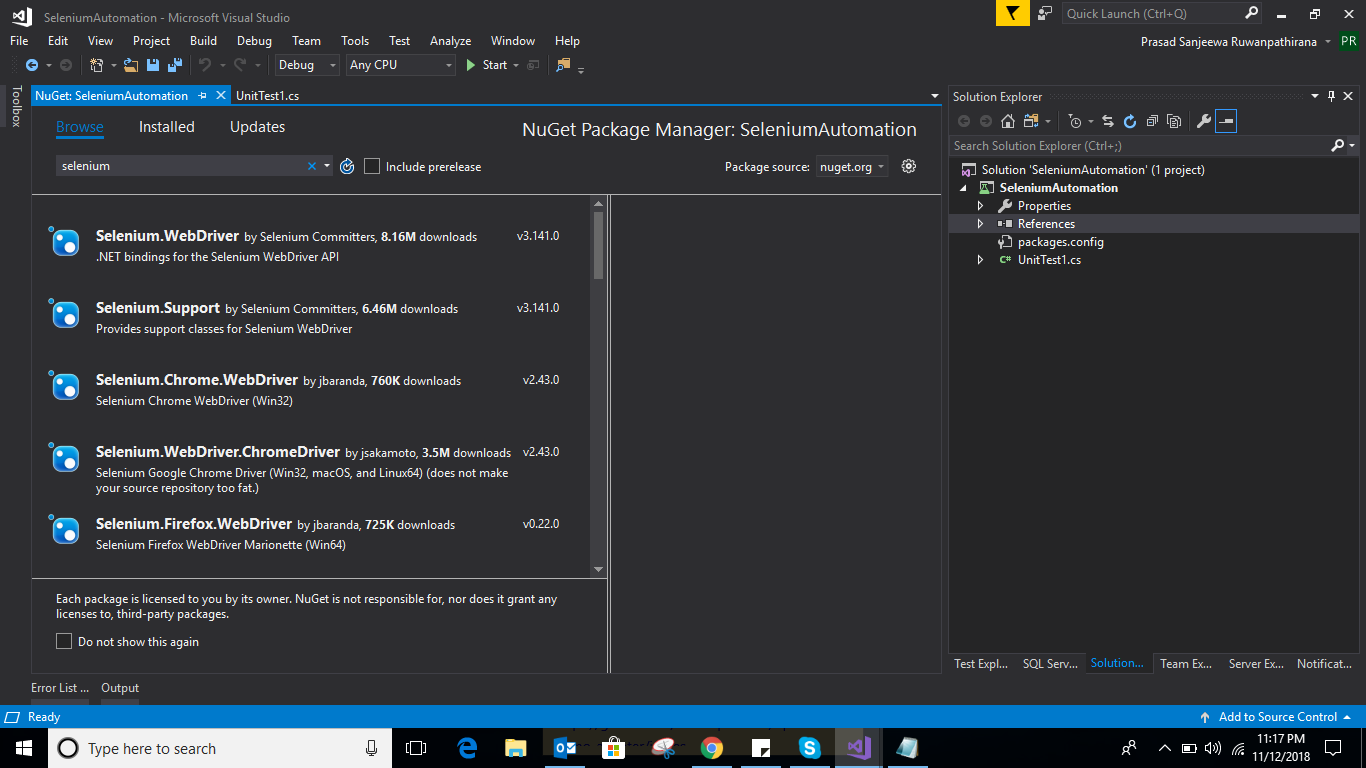
Here you need to install below packages. I will focus for Chrome browser for this example but you can choose Firefox if you need to open your application in Firefox.
- Selenium.WebDriver
- Selenium.Support
- Selenium.Chrome.WebDriver
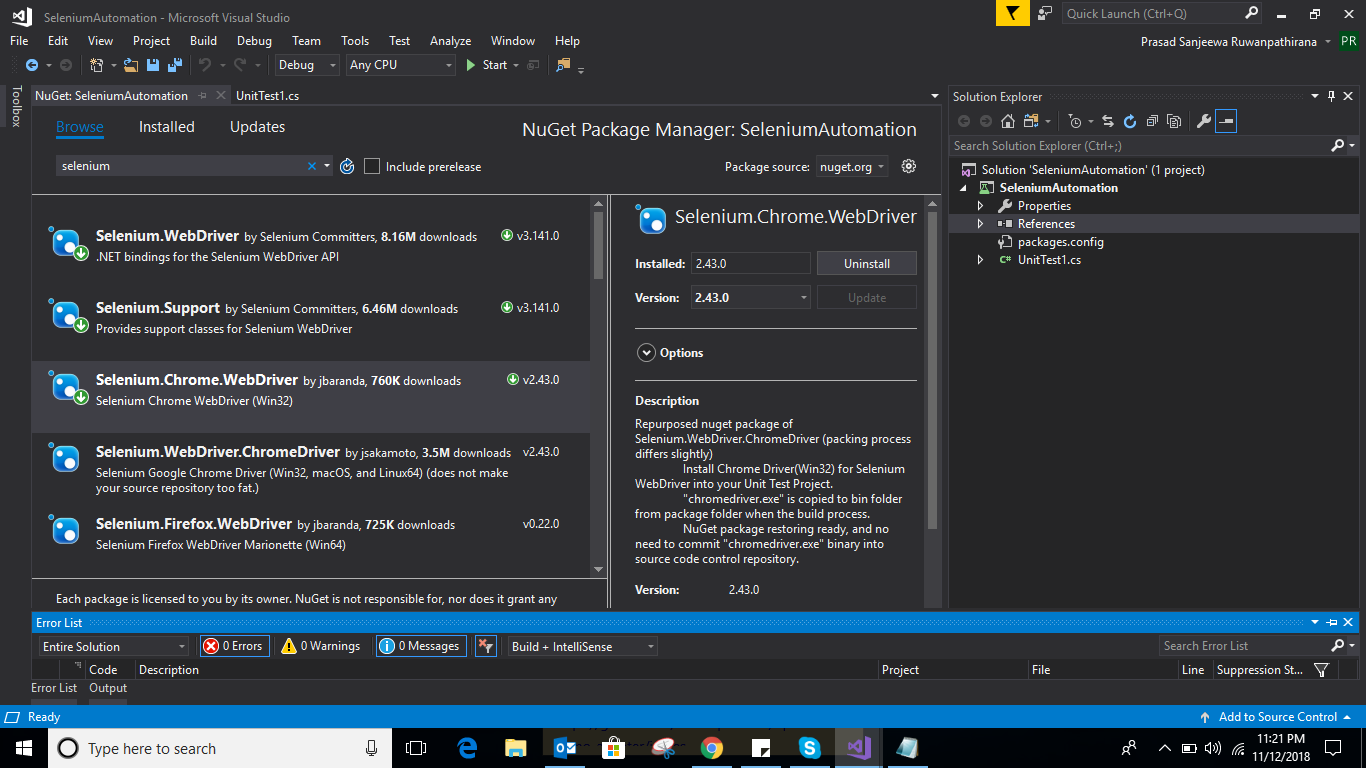
After you installed above packages you can see below screen.
Now you have setup all the Selenium web driver in to your project. So what you need to do now is add some code to automate your browser based application. Here I will show you how to open the chrome web browser and search some content on it.
using System;
using Microsoft.VisualStudio.TestTools.UnitTesting;
using OpenQA.Selenium.Chrome;
namespace SeleniumAutomation
{
[TestClass]
public class UnitTest1
{
[TestMethod]
public void TestMethod1()
{
using (var driver = new ChromeDriver())
{
driver.Manage().Window.Maximize();
driver.Navigate().GoToUrl("http://www.google.com");
var searchBox = driver.FindElementById("lst-ib");
searchBox.SendKeys("Automation using selenium");
var searchButton = driver.FindElementByName("btnK");
searchButton.Submit();
var searchResults = driver.FindElementById("resultStats");
}
}
}
}
Initially I’m maximizing the browser by using below code block.
driver.Manage().Window.Maximize();
Then I’m navigating to the “Google” homepage
driver.Navigate().GoToUrl(“http://www.google.com”);
Find the search text box by using the id on the homepage.
var searchBox = driver.FindElementById(“lst-ib”);
Enter the text as “Automation using selenium” in the textbox
searchBox.SendKeys(“Automation using selenium”);
Find the search button by using the name on the homepage
var searchButton = driver.FindElementByName(“btnK”);
Click “Submit” to start the search
searchButton.Submit();
This is a very basic example of doing automation from Selenium Web Driver with C#. You can explore more on this official site.
Thanks,
Prasad
Comments
Post a Comment